

Please note that all images were taken using a mobile phone so I apologize about the quality of the images!!!
Today I thought I would share with you how I dye my own flokati rugs. The benefit of this is not only the cost but the fact that you can dye them any colour you like!!! Using Rit dye you can make recipes for any colour you can imagine. The best place to find these recipes is on Rits website. https://www.ritstudio.com/wp-content/uploads/2014/03/ColorRit_FINAL.pdf
I buy my Rit dye from RC Modelz www.rcmodelz.co.uk – the service is great and usually the dye is here the next day.
So lets get started! First of all you will need :- Some Rit Dye (I use the powder, but some colours are only available in the liquid form), gloves, a large spoon or stick for stirring and prodding, an old tea towel for mopping up drips and spills,
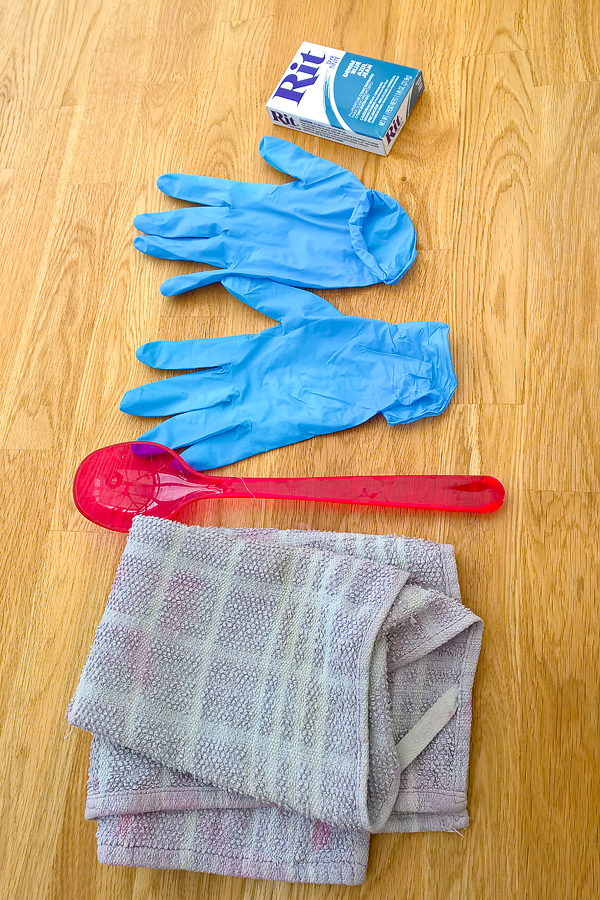
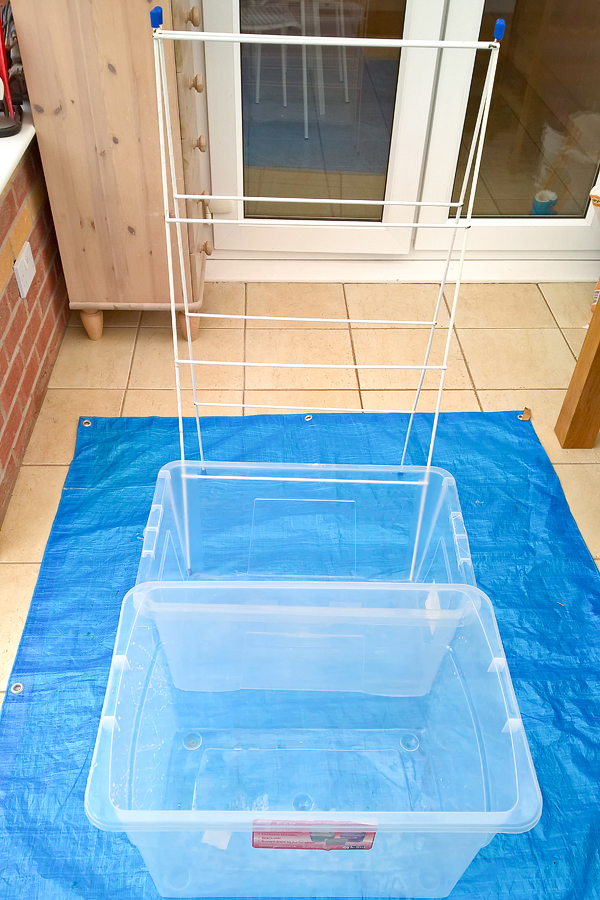
Two large storage containers, an old clothes airer, some tarpaulin or plastic sheets
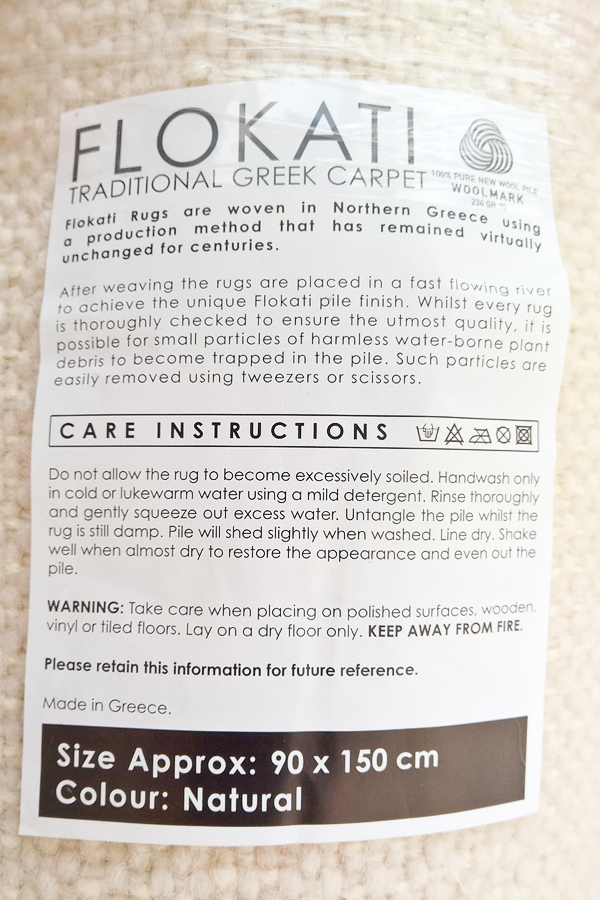
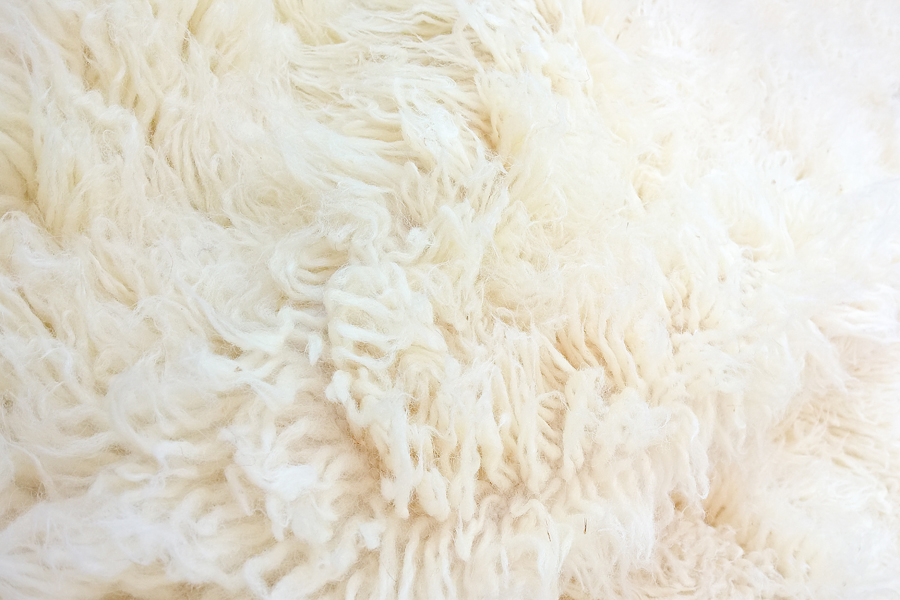
and of course a flokati rug! I use 90cm x 150cm. I was lucky enough to find a supplier on Ebay for mine that meant I was getting them for £25 each, they have since run out of these for the moment. They were from www.goodrug.co.uk
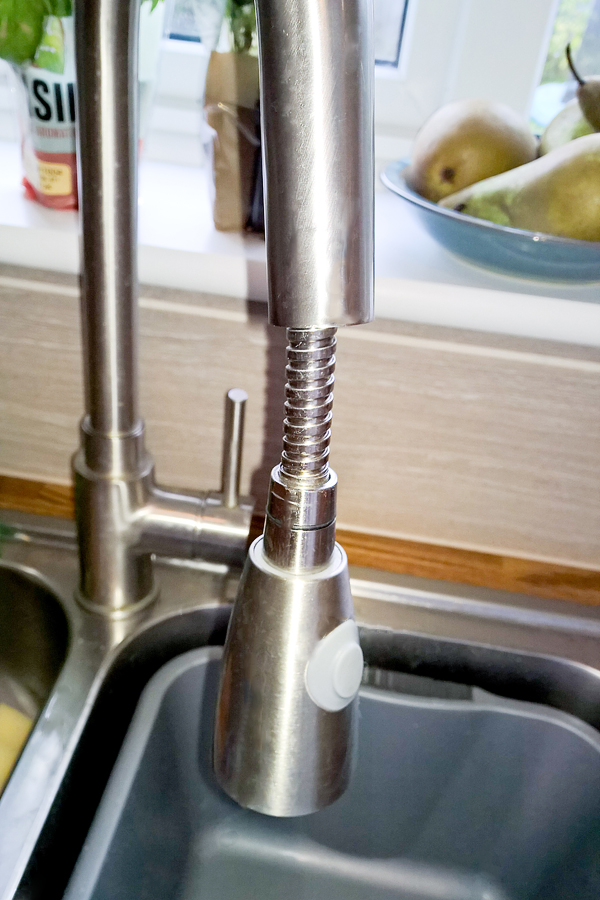
The first thing to do is to is put some hot tap water into one of the storage containers. I have one of these taps which makes it very easy to do!
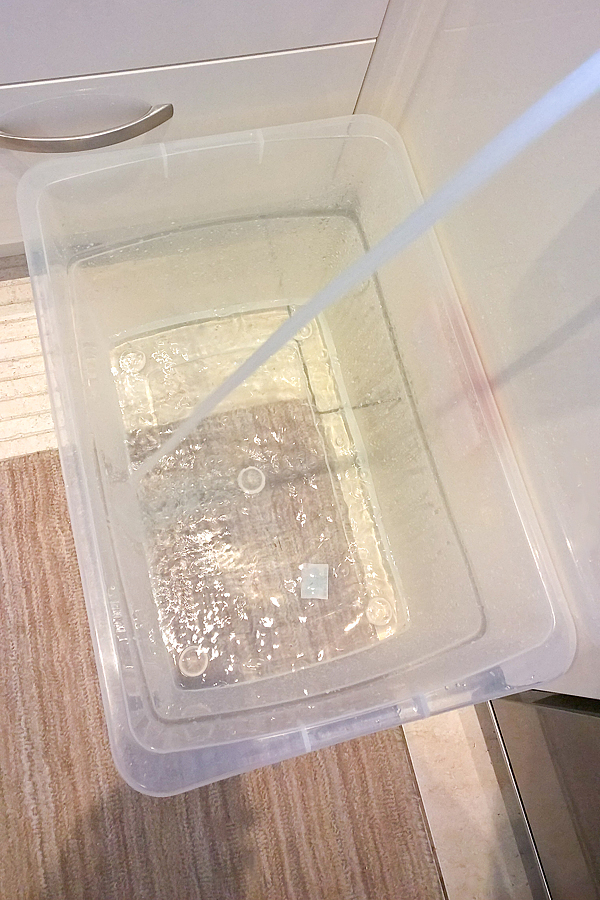
I half fill my container the measurement of the water ends up being 52cm x 36cm x 22cm just to give you an idea of how much water is used.
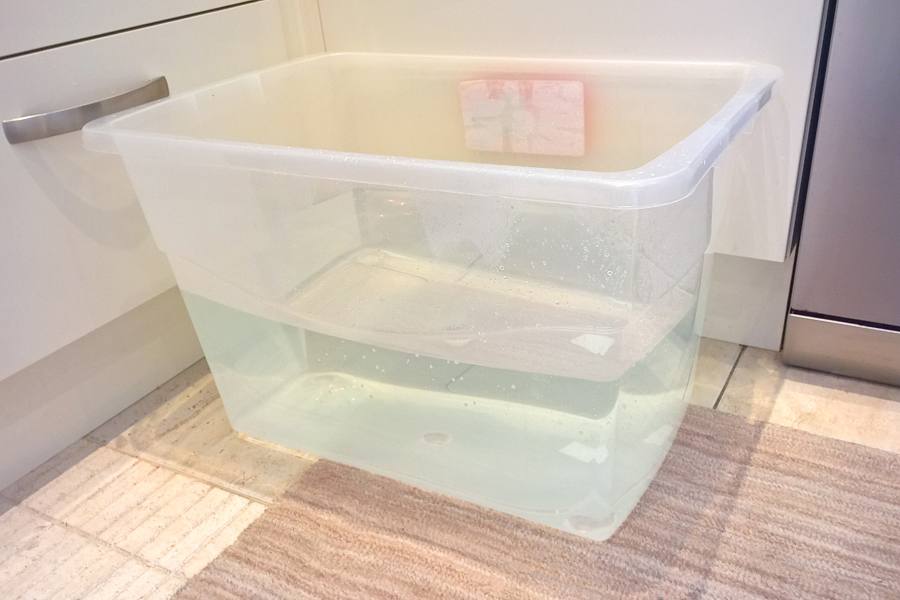
Then as I am expecting I get my husband to carry the water through to the conservatory where I am going to add the dye as the water is really quite heavy!
This is the best bit! Pour all of the powder into the hot water.
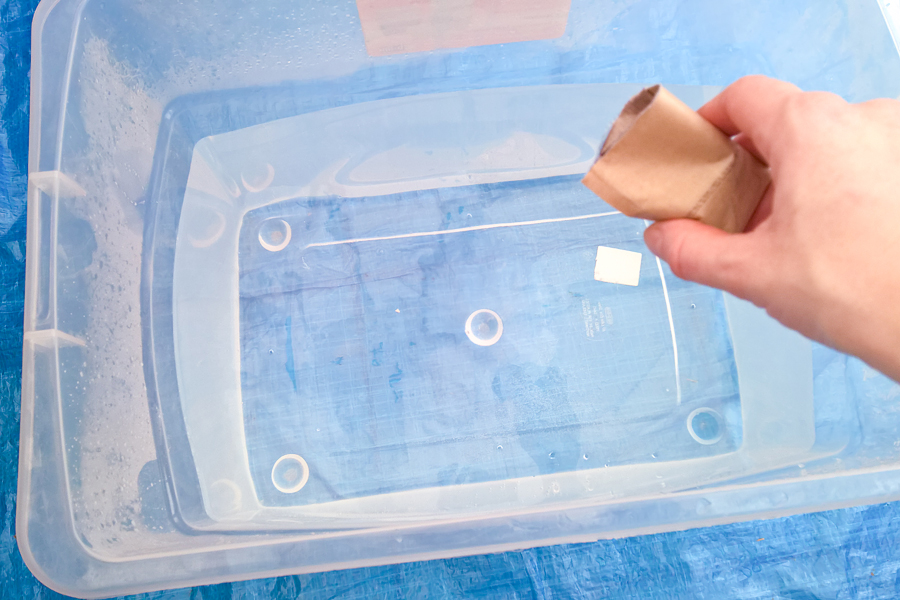
When you add the dye to the water watch as its pretty cool to see!!!
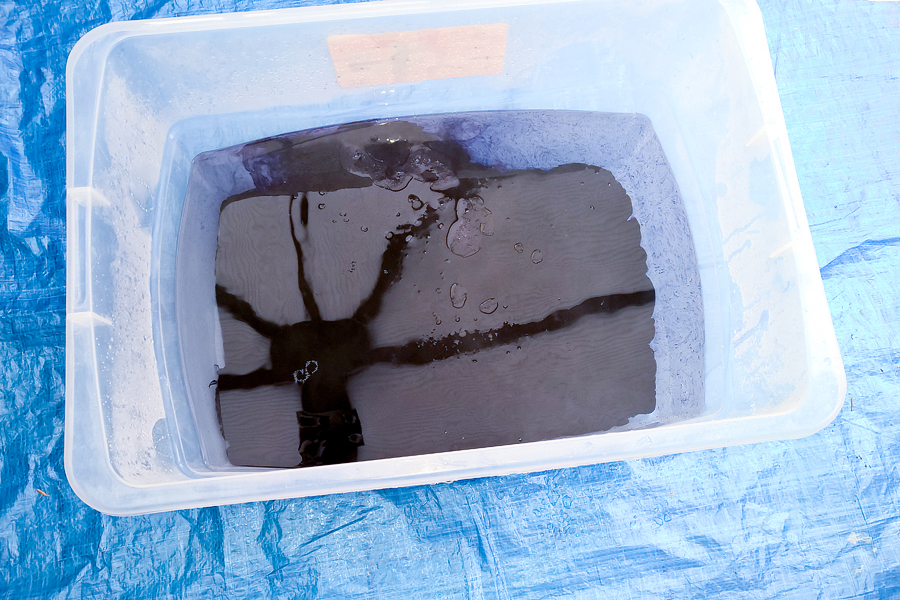
Give the dye a good stir with the spoon make sure you reach the bottom of the container to move about any crystals that have sunk to the bottom. Once its all mixed add the rug.
Move it about using your gloved hands to make sure the water has reach all the parts of the rug. I would then keep moving it around and pushing it down with the spoon to make sure the dye mix squeezes through the rug evenly every 5 minutes.
To check how the dye is taking keep squeezing out a corner and decide if its dark enough or not. The backing on these particular rugs doesn’t seem to take the dye as well as the actual shaggy part, but when they are dry and you give them a good brush you can barely see the backing – nothing a quick edit doesn’t sort out anyway!!

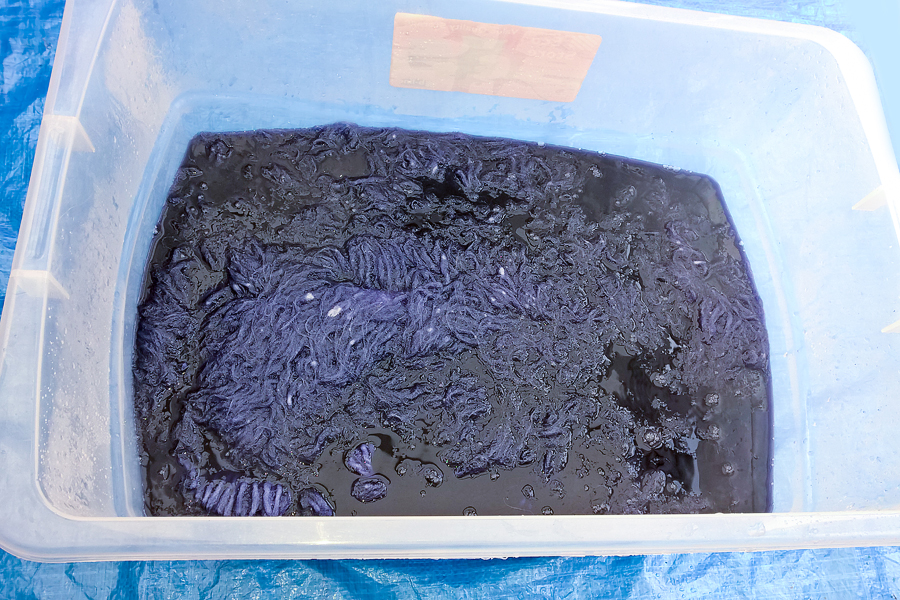
Once you are happy that it is the colour that you want it to be (this has been anywhere from 8 minutes for the peach one I did to 45 minutes for the grey one) place the other container right next to the one with dye in and then start to transfer the rug over making sure you squeeze out the excess water into the one you are taking it from.

Once its transferred over take the one with the rug in back to the sink and cover with hot-warm water. Give this another good prod/move about. Tip the container with dye in down an outside drain (if you have one) I wouldn’t advise tipping it down the sink as it splashes everywhere!!!!
Then transfer the rug form the warm rinsing water over to the now empty container again squeezing out the excess water into the one you are taking it from.
The you can start rinsing with cold water, using a hose pipe will make life a lot easier!
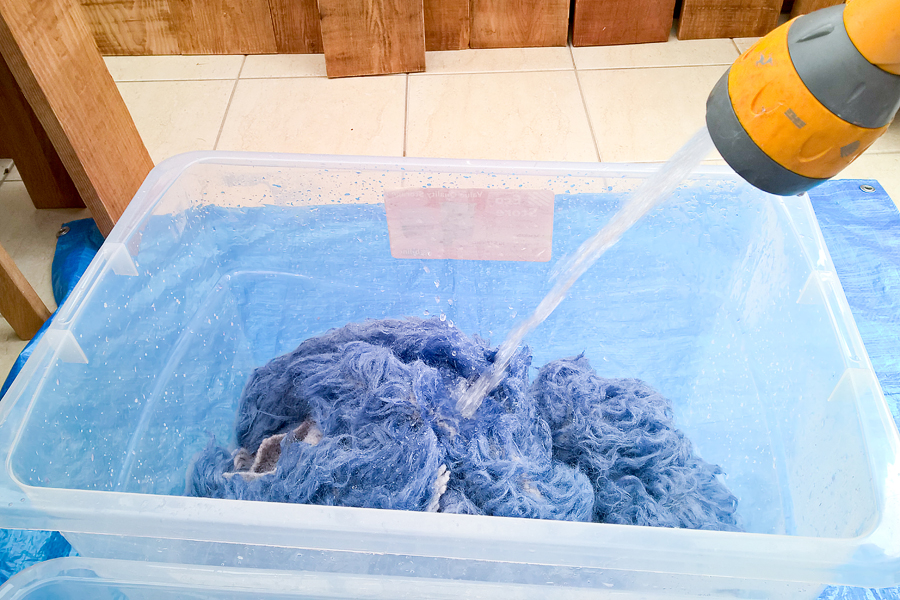
Keep rinsing and transferring to the empty storage box until the water runs clear.
Then I place the clothes airer over the box (this is to avoid getting loads of water all over the floor!)
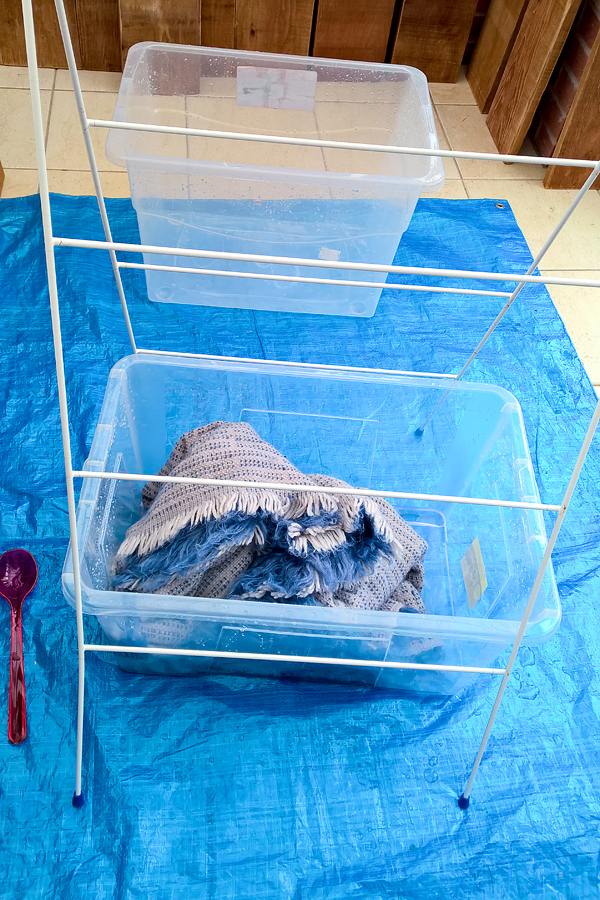
Find the short edge of the rug and pull it up through the airer and back over the top. Make sure both sides of the rug are out of the water and tucked into the container.
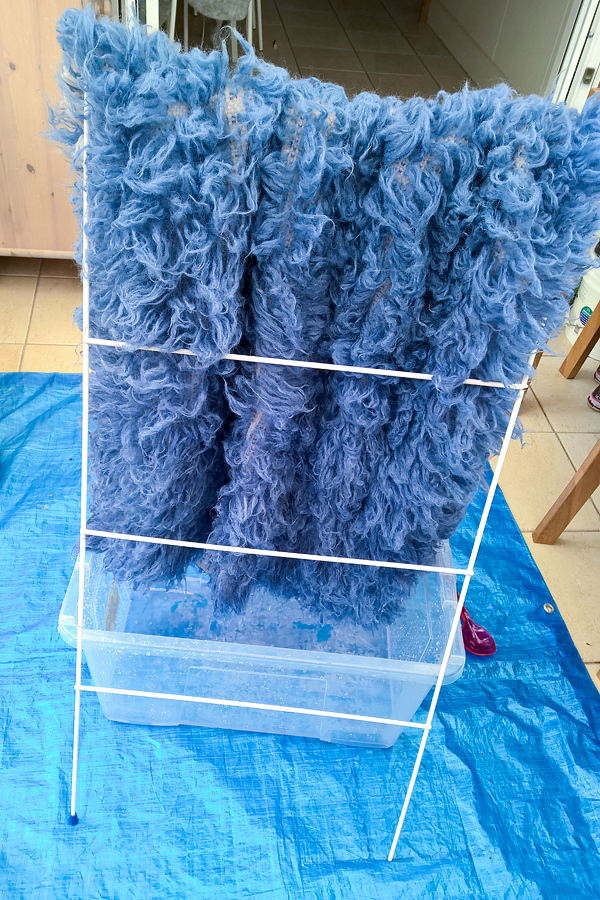
Then leave it to drip dry until its pretty much dried. I then put mine on a radiator to finish drying. Obviously as the weather gets better its probably better to do these outside. But using the above method I get hardly any drips or water spills so they can be done all year round.
Once the rug is dry give it a good brush, I use a brush that is meant for cats as I find this works well. Voila! a bespoke dyed flokati at probably 1/4 – 1/3 of the cost of buying one.